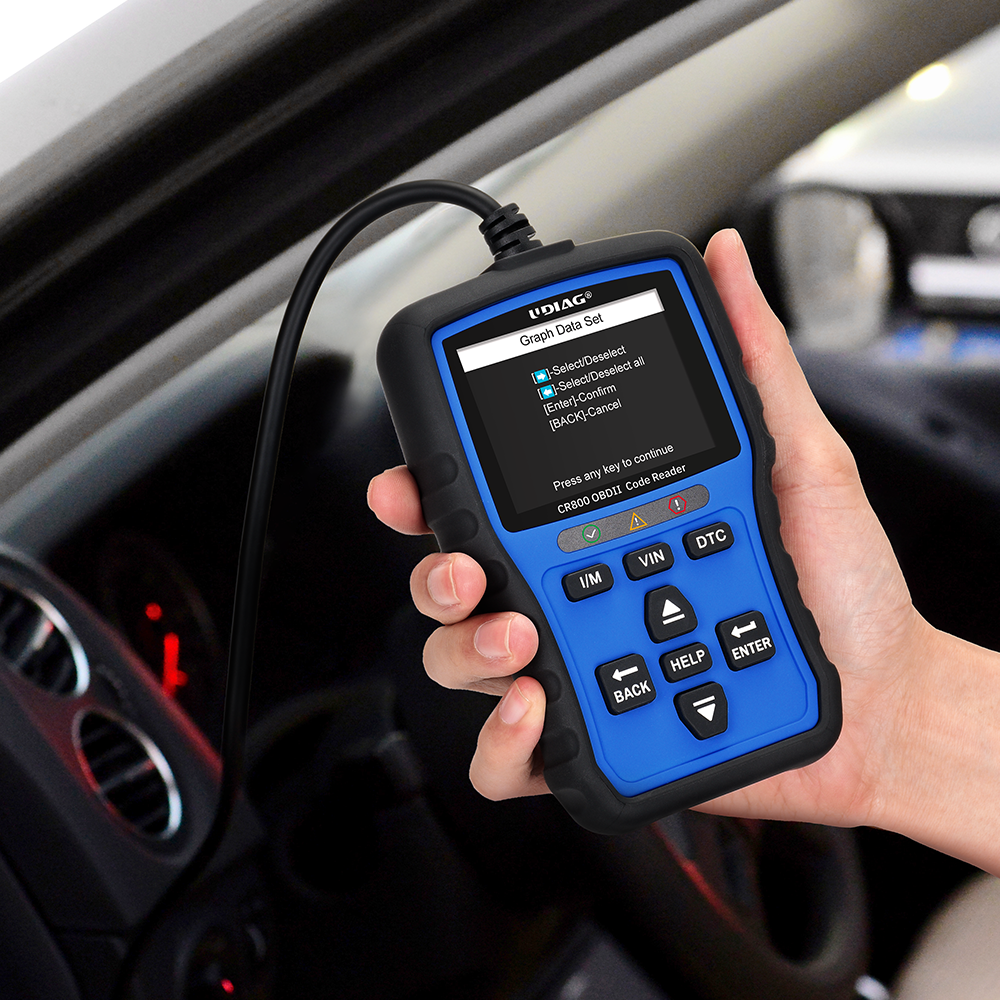
How to reset the check engine light on an OBD scanner?

The modern automotive landscape is replete with technological advancements that enhance our driving experience and ensure our vehicles' optimal performance. One such technological marvel is the On-Board Diagnostics (OBD) system, which includes a diagnostic tool known as the OBD scanner. The check engine light, often dreaded by car owners, is an indicator of potential issues within the vehicle's complex system. In this essay, we will delve into the step-by-step process of resetting the check engine light using an OBD scanner, emphasizing the significance of this procedure and the importance of addressing the underlying causes of the light.
I. Introduction
The check engine light, a glowing symbol on the vehicle's dashboard, serves as a sentinel of potential problems lurking beneath the hood. While its appearance can induce anxiety, it is not just a cause for concern; it's an opportunity to address underlying issues and ensure the vehicle's longevity. This is where the OBD scanner steps in, serving as a window into the vehicle's internal diagnostics and offering a way to reset the check engine light.
II. Preparing for the Process
Before diving into the technical aspects, it's essential to gather the necessary tools and ensure safety. The OBD scanner itself, tailored to your vehicle's specifications, is paramount. Equally important is the vehicle owner's manual, a treasure trove of information specific to your car. Parking the vehicle in a safe and well-ventilated area, engaging the parking brake, and turning off the engine all contribute to the necessary safety measures.
III. Connecting the OBD Scanner
The OBD scanner's magic begins with the proper connection. Locating the OBD-II port, often found beneath the steering wheel or dashboard, is the first step. The OBD connector is then inserted into this port, acting as a conduit between the scanner and the vehicle. With the ignition turned on, the OBD scanner comes to life, establishing a connection with the vehicle's electronics.
IV. Accessing the Diagnostic Menu
Navigating through the OBD scanner's interface, you will find a diagnostic menu, guiding you through the process. Opt for the "Diagnose" or "Read Codes" option to initiate communication with the vehicle's onboard computer. This exchange of information between scanner and vehicle unveils the error codes responsible for triggering the check engine light.
V. Identifying the Error Codes
Error codes, often represented by alphanumeric combinations, are displayed on the scanner's screen. Armed with these codes, delve into the manual or conduct online research to decipher their meanings. This step is crucial, as understanding the error codes unveils the potential issues causing the check engine light to illuminate.
VI. Resolving the Issues
Upon deciphering the error codes, the next logical step involves addressing the root causes of these problems. Basic troubleshooting, such as checking for loose gas caps or damaged wires, can sometimes rectify the issues. In cases where more complex repairs are necessary, it's advisable to consider seeking professional assistance to ensure the proper resolution of the problem.
VII. Clearing the Error Codes
With the underlying issues resolved, it's time to clear the error codes and reset the check engine light. Selecting the "Clear Codes" or "Erase Codes" option on the OBD scanner, followed by a confirmation, prompts the scanner to wipe away the error codes from the vehicle's memory. Witnessing the extinguishing of the check engine light signifies the successful completion of this step.
VIII. Verifying Successful Reset
To ensure the reset was successful, turn off the ignition and wait for a few minutes. Then, turn on the ignition without starting the engine, keeping a watchful eye on the dashboard. If the check engine light remains dormant, the reset has been accomplished.
IX. Final Steps
Concluding the process, safely disconnect the OBD scanner from the vehicle. Store the scanner and relevant documentation in a secure place for future reference. Keeping a record of the error codes and the date of the reset can serve as a valuable resource for any future diagnostics.
Conclusion
In conclusion, the process of resetting the check engine light through an OBD scanner is a blend of technology, diagnostics, and pragmatism. It empowers car owners to take control of their vehicles' health and ensures smoother journeys ahead. However, it's crucial to understand that resetting the light is just the first step; addressing the underlying issues is paramount. Through the partnership of technology and responsible car ownership, the journey towards a well-maintained and reliable vehicle becomes all the more achievable.


Leave a comment
Please note, comments need to be approved before they are published.